A piece of bread is a small promise: crust that sings when you press it, crumb that springs back, a scent that makes you slow down. Then day three arrives, the heel turns leathery, the middle goes tight and dry, and the promise feels broken. The freezer could be the fix, yet it so often gives you a frosty, sad slice. There’s a way to flip that script and keep bread tasting bakery-new for weeks, not days. No gadgets. No fuss. Just a clever shift in timing and a smarter wrap.

m., peeling open a paper bag with yesterday’s sourdough. The crust is dull, the crumb a memory of the weekend. We’ve all had that moment when breakfast decides whether the day feels generous or thin. I think about my neighbor, who always has “fresh” bread, even on Thursdays, and never seems to buy a loaf midweek. She opens her freezer with a grin. A small ritual, a surprising result. The secret was timing and air.
The science of bread that stays soft — and why your freezer can be a hero
Bread doesn’t “dry out” first; it goes stale because starches in the crumb tighten and expel water. That tightening, called retrogradation, speeds up in the cold and slows at room temp. The fridge is bread’s worst enemy. The freezer does the opposite: it puts those starches on pause. The trick is to freeze fast, avoid thirsty air, and revive with gentle heat that brings moisture back to the party without roughing up the crust.
I learned this at a neighborhood bakery that slices half their loaves for regulars to take home and freeze. People return raving about Saturday texture on a Wednesday. In the UK, WRAP once estimated tens of millions of slices are thrown away each day. That’s a lot of breakfast regret. It feels like cheating, but it’s just physics. When bread hits the freezer at its peak and meets the right envelope, it keeps singing.

Here’s the logic in plain terms. Water wants to wander from crumb to crust, and from crust to the dry air of your freezer. Slow freezing makes bigger ice crystals that rough up the crumb. Fast freezing keeps them small and tidy. Oxygen and open space dry the crust by sublimation, which is a nerdy way of saying “freezer burn.” Limit air, freeze quickly, then reheat from frozen so the starches relax and reabsorb water right where you want it. That’s your map.
The freezer trick: slice smart, flash-freeze, double-wrap, then revive with steam
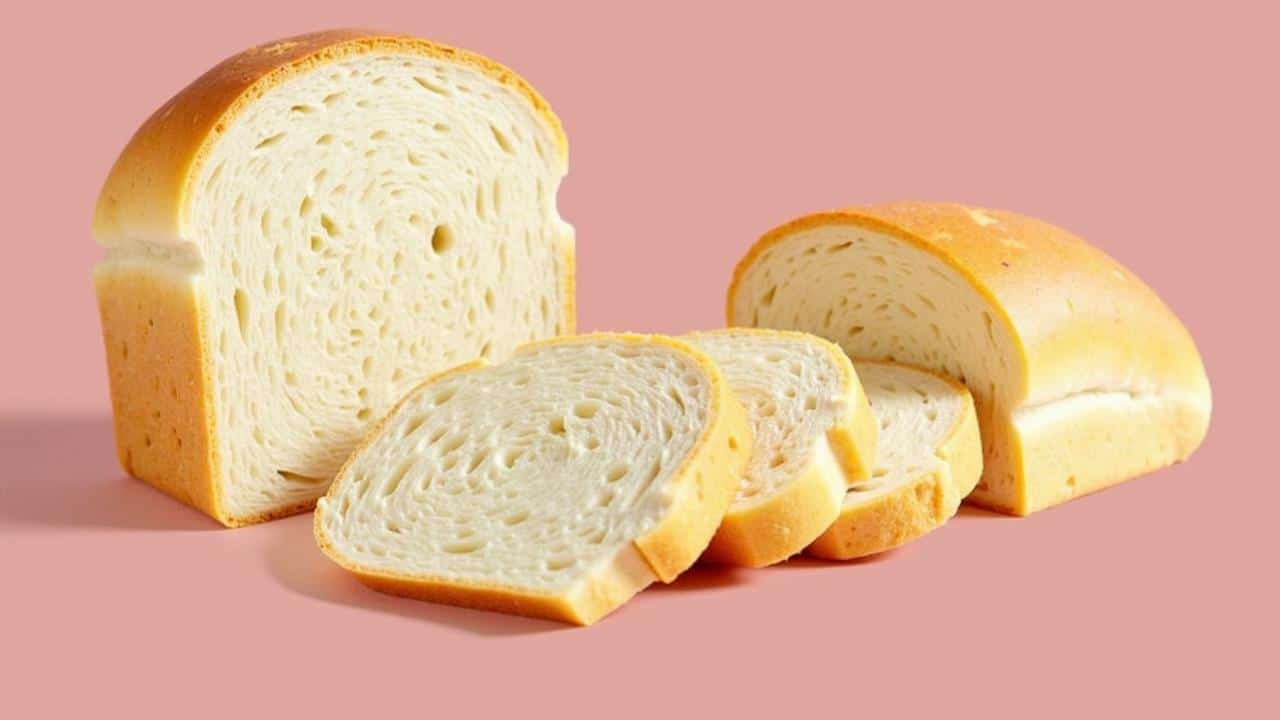
Do this on day one, when the loaf is fully cool and still vibrant. Slice the bread the way you use it: sandwich-thin, toast-thick, or in halves if you love oven-warm wedges. Lay the pieces flat on a tray lined with parchment and freeze for 45–60 minutes, just until firm. Pack the slices into a zipper bag, press out the air with the water-displacement method, and seal. For whole halves, wrap snugly in foil, then slide into a freezer bag. Label and date. Freeze as flat as you can for speed. Freeze it the day you buy it, not when it’s already sad.
When you want bread, skip thawing on the counter. Go straight from frozen to heat. For slices, bump the toaster slightly lower than usual and do two passes. For hunks or halves, spritz lightly with water, then bake at 375°F/190°C for 8–12 minutes until the crust crackles. It’ll smell like a bakery again. If you prefer a softer crust, wrap in foil for most of the time, then give it a quick uncovered finish. Let’s be honest: nobody really does that every day.

Common pitfalls are sneaky and fixable. Freezing bread while it’s still warm traps steam that becomes big ice crystals. Paper bags in the freezer invite frostbite. Room-temp thawing gives you a gummy middle and a dull crust. If your freezer is a frost cave, double-bag the bread or slip a sheet of parchment around the loaf before the outer wrap. Your goal is simple: fast freeze, tight package, hot revival.
“Freeze at peak freshness, then reheat like you mean it,” says a longtime baker friend. “Moisture isn’t lost—it’s misplaced. Heat invites it home.”
- Slice the way you eat; don’t force one-size-fits-all.
- Flash-freeze on a tray to keep slices from clumping.
- Double-wrap whole pieces: foil first, bag second.
- Reheat from frozen with a little steam for a plush crumb.
Make it easy enough to repeat without thinking
Rituals stick when they’re kind. Keep one empty tray in the freezer for “bread flash dates.” Tuck a marker near your freezer bags and write the date without fuss. Build a tiny habit: when the loaf comes home, enjoy your first slices, then prep tomorrow’s joy in five quiet minutes. If you share a kitchen, agree on one shelf spot for bread. The freezer trick is less of a technique than a rhythm you fall into. It turns a fragile pleasure into a steady supply.
| Point clé | Détail | Intérêt pour le lecteur |
|---|---|---|
| Flash-freeze slices | Freeze on a tray 45–60 min before bagging | No clumping, faster freezing, softer crumb |
| Double-wrap bigger pieces | Foil close to crust, then a zip bag | Blocks freezer burn, keeps crust lively |
| Reheat from frozen | Toaster for slices; 375°F/190°C oven 8–12 min for chunks | Moist crumb returns, bakery aroma on demand |
FAQ :
- Should I freeze bread whole or sliced?Sliced is more flexible and freezes faster, which protects texture. Freeze halves if you love tearing into warm chunks from the oven.
- How long can bread stay in the freezer?Best within 4–6 weeks for peak flavor and crust. After that it’s still safe, but subtle aroma fades and the crust dulls.
- Do I need a vacuum sealer?No. Use zip bags and push out air by submerging the open bag in water to displace air, then seal. A second bag helps for long storage.
- What’s the best way to revive a baguette?Run water over the crust quickly, wrap in foil, bake at 375°F/190°C for 8 minutes, then uncover 3–5 minutes for snap.
- Why not thaw on the counter?Starch tightens as it warms slowly. A hot reheat loosens it fast, returning moisture to the crumb and crisp to the crust.